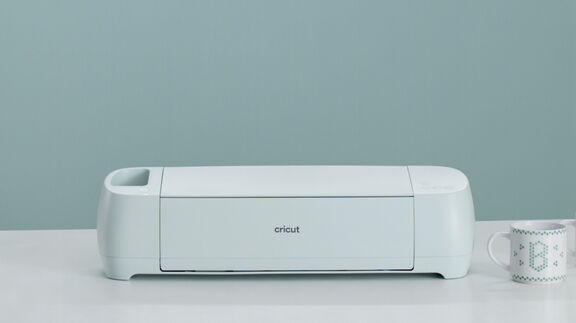
Getting your living space organized can feel overwhelming, but focusing on smaller areas like your bathroom cabinet can make a big difference. A well-organized cabinet not only makes finding items easier but also adds a touch of style to your space. With the help of a Cricut Maker 3, you can transform your bathroom cabinet into a model of efficiency and elegance. Here are four creative ways to upgrade and organize your apartment bathroom cabinet.
1. Create Shelf Dividers
Tailor the Space to Your Needs
In a shared bathroom, it's crucial to ensure that everyone has their own designated space. One effective solution is to create shelf dividers to allocate sections for each roommate's items. By using your Cricut Maker 3, you can customize these dividers with personalized fonts or vinyl colors that reflect each person's style. This not only helps in maintaining order but also adds a personalized touch to the otherwise mundane cabinet.
How to Make Shelf Dividers
- Measure the height and width of your cabinet shelves.
- Use the Cricut Maker 3 to cut dividers from vinyl or cardstock.
- Label each divider with names or categories using a coordinating font or design.
- Place the dividers in the cabinet to organize products and prevent clutter.
2. Design Cotton Swab Holders
Streamline Small Essentials
Cotton swabs and pads are bathroom staples that can clutter up your cabinet if not stored properly. By creating labeled holders for these small items, you can keep your space tidy and functional. Eliminating the original packaging helps free up shelf space and reduces visual clutter.
How to Create Cotton Swab Holders
- Choose clear jars or containers to store your cotton swabs and pads.
- Use Cricut’s vinyl or sticker options to design and print labels for each container.
- Attach the labels to the jars and place them in a designated spot in your cabinet.
- For an added touch, decorate the jars with vinyl patterns that complement your bathroom decor.
3. Personalize Cotton Pad Jars
Enhance Aesthetics with Custom Design
Small jars are perfect for storing cotton pads, and customizing them with geometric patterns or other designs can enhance your cabinet’s look. By using Cricut's design tools, you can create tile-inspired stickers or other decorative elements that align with your bathroom’s theme. This approach not only keeps your cotton pads organized but also adds a stylish flair to your cabinet.
How to Personalize Cotton Pad Jars
- Select jars that fit your cotton pads and clean them thoroughly.
- Design geometric or thematic stickers using Cricut software.
- Cut and apply the stickers to the jars, ensuring they adhere well.
- Store the cotton pads in the decorated jars and place them in a convenient location.
4. Organize Nail Polish with Custom Dishes
Keep Nail Care Essentials in Place
For nail polish enthusiasts, organizing bottles can be a game-changer. Creating a dedicated nail polish dish or tray helps keep your nail care products in order and readily accessible. Using Cricut’s vinyl designs, you can craft a sparkling or themed tray that matches your bathroom’s aesthetic while making it easier to find and store your nail polish bottles.
How to Create a Nail Polish Dish
- Choose a dish or tray that suits your cabinet’s size and design preferences.
- Use Cricut to design and cut out vinyl decals with fun patterns or glittery finishes.
- Apply the decals to the dish or tray to give it a personalized look.
- Arrange your nail polish bottles on the tray, ensuring easy access and organization.
Final Thoughts
While a medicine cabinet might not be the first place you think to organize, tidying up this small space can have a big impact on your bathroom’s overall functionality and appearance. By implementing these four Cricut-assisted solutions, you can create a well-organized, stylish cabinet that makes daily routines more efficient and enjoyable. Start with these simple upgrades and see how they can transform your space into a model of organization and style.


Comments