




The desire to refresh living spaces often bumps against the reality of limited time, energy, and renovation skills. Walls that have grown tired or dated can make an entire room feel neglected, yet the prospect of traditional wall treatments—painting, wallpapering, installing trim—can feel overwhelming for busy homeowners. Strong self adhesive wall trim has emerged as a practical solution to this dilemma, offering the transformative power of architectural detailing without the complexity of conventional installation. These products combine industrial-strength adhesives with lightweight, durable materials to create upgrades that happen in hours rather than days. For anyone seeking immediate gratification alongside lasting results, self adhesive trim delivers the best of both worlds: professional appearance with minimal effort.
The Engineering Behind Strong Adhesive Trim
The performance of self adhesive wall trim depends entirely on the quality of its bonding system, and modern products benefit from significant advances in adhesive technology. Unlike early versions that struggled with long-term hold, contemporary formulations use acrylic-based adhesives originally developed for automotive and industrial applications where failure is not an option. These adhesives create molecular bonds with painted drywall that actually strengthen over time, rather than degrading. The backing systems include multiple layers—a primary adhesive for immediate grab, a structural carrier for stability, and a secondary bonding layer that cures fully over 24 to 48 hours. Temperature ranges for application have expanded, allowing installation in conditions that would have defeated earlier products. This engineering ensures that once trim bonds to the wall, it remains firmly in place through seasonal humidity changes, temperature fluctuations, and the occasional bump from furniture or foot traffic.
Material Options and Their Characteristics
Self adhesive wall trim comes in several material varieties, each offering distinct advantages for different applications. Flexible PVC trim bends around curves and conforms to slightly irregular walls, making it ideal for older homes where surfaces aren't perfectly flat. Rigid polyurethane provides crisp detail reproduction and accepts paint beautifully, suiting formal applications where appearance matters most. Extruded polystyrene offers lightweight economy for large projects where budget considerations balance against performance requirements. Some manufacturers offer cellulose-based composites with excellent paint adhesion and environmental credentials. Each material interacts differently with the adhesive system, affecting installation techniques and long-term performance. Understanding these material differences helps homeowners select trim appropriate for their specific walls, climate, and design goals, ensuring satisfaction that lasts.
Design Versatility for Any Room
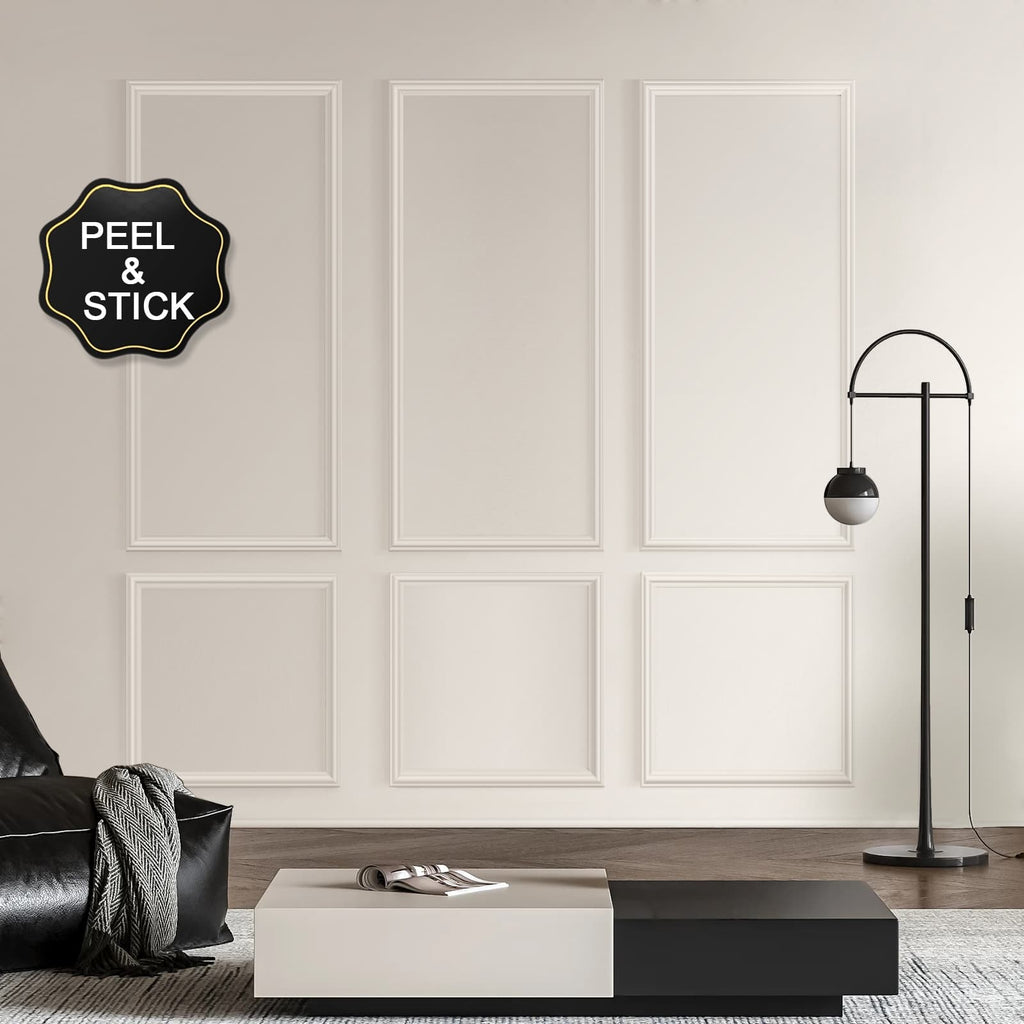
The range of styles available in self adhesive trim has expanded dramatically, matching virtually any design aesthetic homeowners might desire. Traditional profiles like colonial, ogee, and beadboard suit period homes and formal spaces where classical proportion matters. Contemporary options feature clean lines, geometric shapes, and minimalist profiles that complement modern furnishings. Specialty trims designed for specific applications—around windows, along staircases, at chair rail height—simplify planning by providing purpose-built solutions. Some lines include coordinating corner blocks and end caps that eliminate visible seams, creating the illusion of custom millwork. This design breadth means that a single product category can serve every room in a house, from formal living areas to casual kitchens to moisture-prone bathrooms, with appropriate variations for each environment.
Surface Preparation for Maximum Bond Strength
While self adhesive trim simplifies installation considerably, it cannot overcome poorly prepared surfaces. The bond between trim and wall depends entirely on clean, dry, sound conditions. Walls must be free of dust, grease, and loose paint—a simple cleaning with trisodium phosphate substitute followed by thorough rinsing typically suffices. Glossy or semi-gloss paints require light sanding to create mechanical tooth for the adhesive. Existing texture, whether orange peel or knockdown, must be addressed; light sanding can reduce texture sufficiently, or a skim coat of joint compound can create the smooth surface adhesive requires. Temperature matters significantly—most adhesives specify minimum application temperatures, typically around 50 to 60 degrees Fahrenheit. Taking these preparation steps seriously, rather than rushing to installation, makes the difference between trim that stays for years and trim that fails within months.
Installation Techniques for Professional Results
The actual installation of self adhesive trim follows a logical sequence that rewards careful execution. Starting at the most visible corner or focal point establishes a reference for the entire project. Measuring and cutting pieces before removing any backing paper prevents wasted materials and allows dry-fitting to confirm fit. When ready to install, removing only a portion of the release paper at a time maintains control during positioning. Once placement is confirmed, pressing firmly along the entire length ensures full adhesive contact—a roller or wooden block helps apply consistent pressure. Inside and outside corners require particular attention; pre-formed corner pieces simplify these junctions considerably. Taking time with each piece, rather than rushing through, produces the clean lines and tight joints that distinguish professional-looking work from obvious DIY efforts.

Painting and Customizing for Seamless Integration
Self adhesive trim typically arrives white or primed, ready for customization that integrates it with existing décor. Painting after installation creates the most seamless appearance—the trim becomes part of the wall rather than an obvious addition. For monochromatic schemes where trim matches wall color, careful cutting in with an angled brush produces clean edges. For contrast schemes where trim stands out, painter's tape protects walls while trim receives its distinct color. The paint itself should be appropriate for the trim material—high-quality acrylic latex works well for most options, while oil-based paints may be specified for certain substrates. Multiple thin coats produce better results than single heavy applications, with light sanding between coats for truly flawless finishes. This final step transforms assembled components into integrated architectural elements.
Longevity and Maintenance Considerations
Homeowners investing time in wall upgrades naturally wonder about longevity, and modern self adhesive trim delivers durable results when properly installed. Quality products maintain their bond for years, withstanding normal household conditions without lifting or sagging. Cleaning requires only occasional dusting or gentle wiping with damp cloth—no special treatments or refinishing needed. Should damage occur, individual pieces can be removed and replaced without disturbing adjacent sections, thanks to the precise engineering of the adhesive system. For those who eventually want change, removal involves gentle heating to soften adhesive followed by careful peeling, with any residue cleaned using appropriate solvents. This combination of durability and reversibility makes self adhesive trim suitable for both permanent installations and temporary upgrades, adapting to whatever stage of life and homeownership users find themselves in.
Comments