


If you're a Harley owner, you know how important it is to keep your bike in top condition, especially the fairings. One effective way to protect them from damage is with motorcycle drop guards installation. This step-by-step guide will walk you through the process, ensuring your bike stays looking great, even when you're practicing low-speed maneuvers or learning new skills.
What You’ll Need
Before you begin, gather the following tools and materials:
- Drop guards set (front, rear, and primary)
- Socket wrench and compatible sockets
- Screws and lock washers (usually included in the kit)
- Screwdriver
- Bike jack or support stand
Make sure you have a well-lit workspace, so you can easily spot any small parts or screws. If you don’t have one already, consider investing in a bike jack to make the process easier.
Step-by-Step Installation Process
1.Prepare Your Motorcycle - Start by securing your motorcycle on a stable surface using a bike jack or support stand. This will prevent any unexpected movements while you're working.
2.Remove Existing Hardware - Depending on your Harley model, you may need to remove certain parts, like saddle bags or engine bars. It’s always a good idea to check the motorcycle’s manual to ensure you're removing the right components before installing the drop guards.
3.Install the Front Drop Guards - Begin by positioning the front drop guards on the designated area near your bike's lower fairing. Align the holes on the drop guard with the screws on your motorcycle. Using your socket wrench, secure the drop guard tightly in place. Don’t overtighten-just enough to keep it firm but not damaging the screws.
4.Attach the Rear Drop Guards - Next, repeat the same process for the rear drop guards. Ensure that they are aligned correctly with the saddlebag bars, keeping everything in place while you work. The rear guards play a crucial role in preventing the lower fairings from hitting the ground.
5.Tighten Everything Up - Once all parts are in place, go through and double-check all screws and washers. Make sure everything is tight and secure but be cautious not to overdo it. You don’t want to strip the screws.
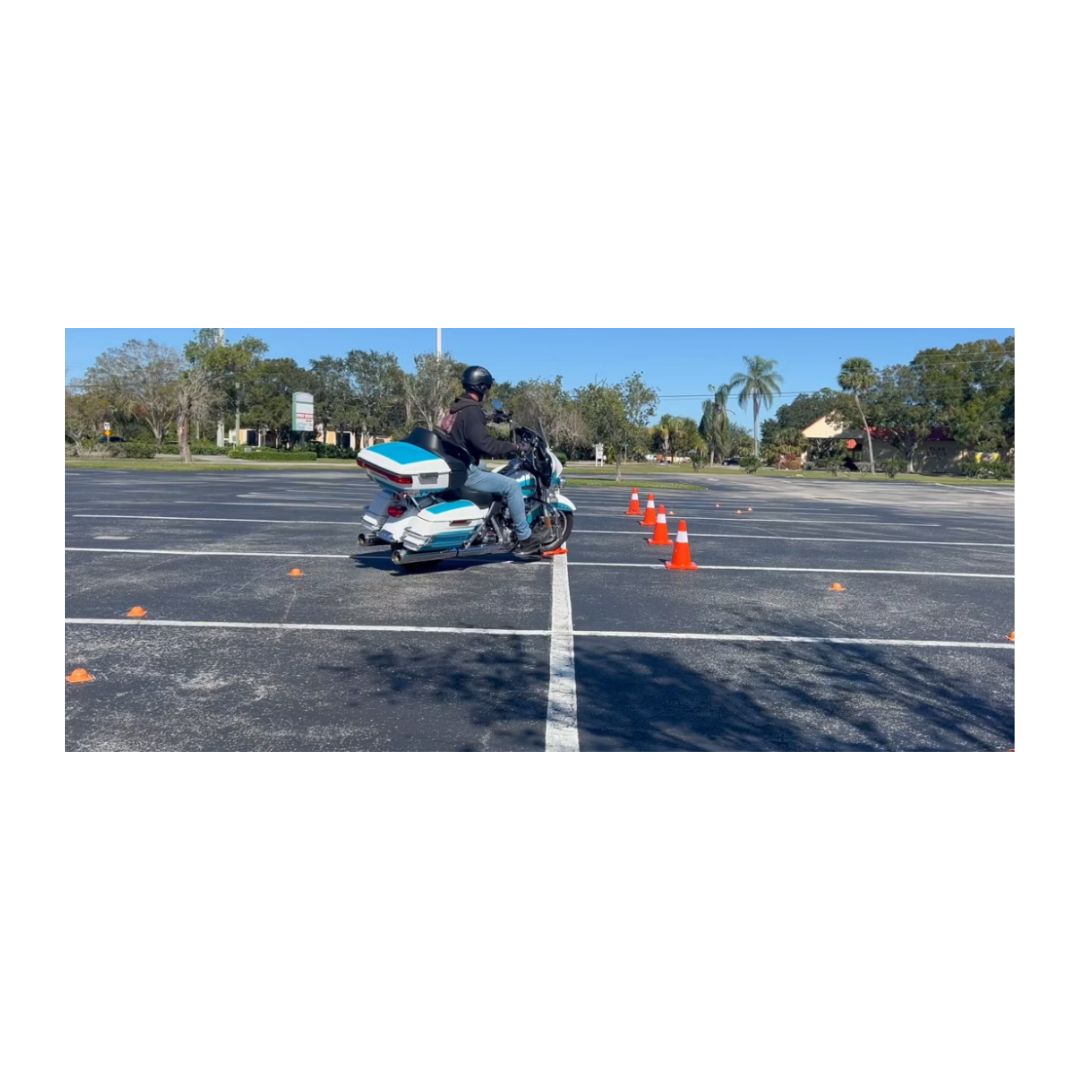
6.Test Your Motorcycle - Once you’ve finished installing the drop guards, it’s time for a test run. Do a slow-speed maneuver to check how the guards react in action. This will give you a feel for the added protection, ensuring that your fairings remain safe even during challenging moves.
Ride Like a Pro Drop Guards
One of the great things about installing ride like a pro drop guards is that they not only protect your bike but also give you peace of mind. When you practice skills like U-turns or figure-eights, you can focus more on improving your riding without worrying about potential damage to your bike.
Recap Highlights
Incorporating motorcycle drop guards installation into your Harley maintenance routine is an excellent way to protect your fairings and other vulnerable parts. It's a straightforward process that pays off in the long run by preventing costly repairs. If you’re a seasoned rider or just starting out, having drop guards will give you the confidence to ride without fear of damaging your bike.
Comments