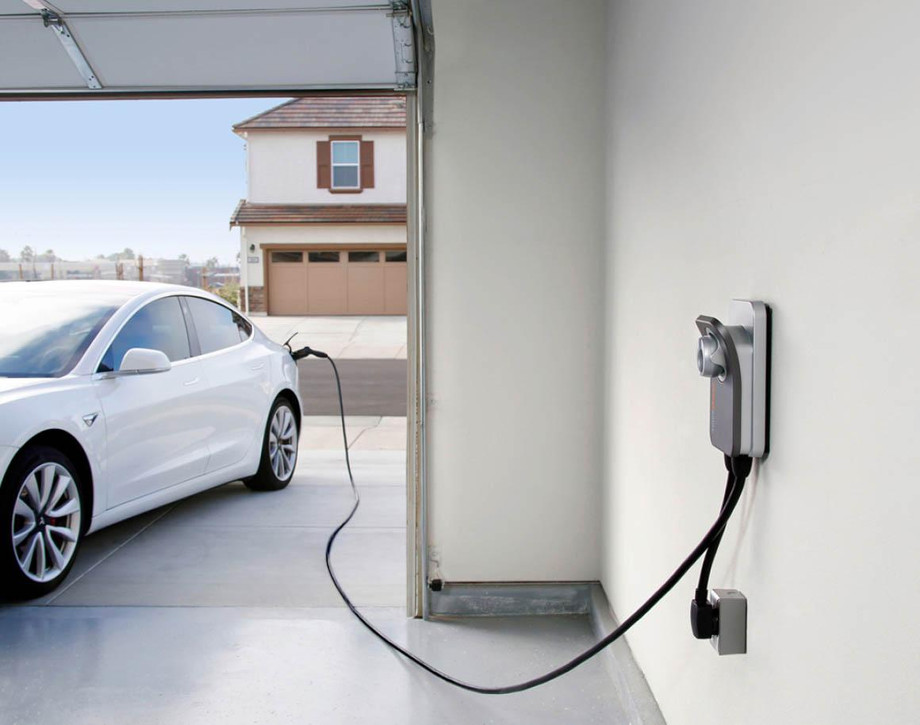
As electric vehicles (EVs) become increasingly popular, it's essential for EV owners to have convenient access to charging infrastructure. One of the most convenient options is installing an electric car charger at home. This comprehensive guide will walk you through the key considerations and steps involved in a successful electric car charger home installation.
Determine Your Charging Needs
Before starting the installation process, it's crucial to understand your charging requirements. Consider factors such as the distance you typically drive daily, your EV's battery capacity, and your desired charging speed. This information will help you choose the right charging equipment for your needs.
Assess Your Electrical System
Next, evaluate your home's electrical system to determine its capacity to support an electric car charger. Check your electrical panel's capacity, as well as the existing load on the circuit. It may be necessary to upgrade your electrical panel or add a dedicated circuit for the charger.
Select the Right Charger
Once you have assessed your charging needs and electrical system, it's time to select the appropriate electric car charger. There are various options available, including Level 1 (120-volt), Level 2 (240-volt), and even Level 3 (fast DC charging) chargers. Level 2 chargers are the most common choice for home installations, offering faster charging speeds without requiring extensive upgrades.
Choose the Charging Location
Decide on the optimal location for installing the charger. Consider factors such as accessibility, proximity to your parking spot, and the distance from your electrical panel. It's best to choose a location that allows for easy cable routing and protection from the elements.
Hire a Professional Electrician
Although it's possible to install an electric car charger as a DIY project, it is recommended to hire a licensed and experienced electrician. They will ensure the installation adheres to local electrical codes and safety standards. Additionally, an electrician can handle any necessary electrical upgrades and provide expert advice.
Obtain Necessary Permits
Contact your local building authority to inquire about any permits required for the installation. Some jurisdictions may require permits for electrical work, ensuring compliance with safety regulations. Your electrician can assist you with this process and ensure all necessary permits are obtained.
Prepare for Installation
Before the electrician arrives, make sure the designated installation area is clear of any obstacles. Ensure that your vehicle is parked in the desired location, and clear any clutter or debris from the area.
Installation Process
The electrician will begin by installing the charging equipment, including the charger itself, mounting hardware, and electrical wiring. They will connect the charger to your electrical panel, either through a dedicated circuit or an upgraded panel if required. The process typically involves mounting the charger on a wall or a standalone post, followed by wiring and testing.
Post-Installation Checks
Once the installation is complete, the electrician will perform thorough testing to ensure the charger is functioning correctly and safely. They will check for proper electrical connections, grounding, and test the charger with a compatible electric vehicle to verify the charging process.
Enjoy Your Home Charging Station
After successful installation and testing, your home charging station is ready for use! Follow the manufacturer's instructions for operating the charger safely and effectively. Enjoy the convenience of charging your electric vehicle at home, saving time and reducing your carbon footprint.
For More Info:-
Calgary Tesla Charging Stations


Comments