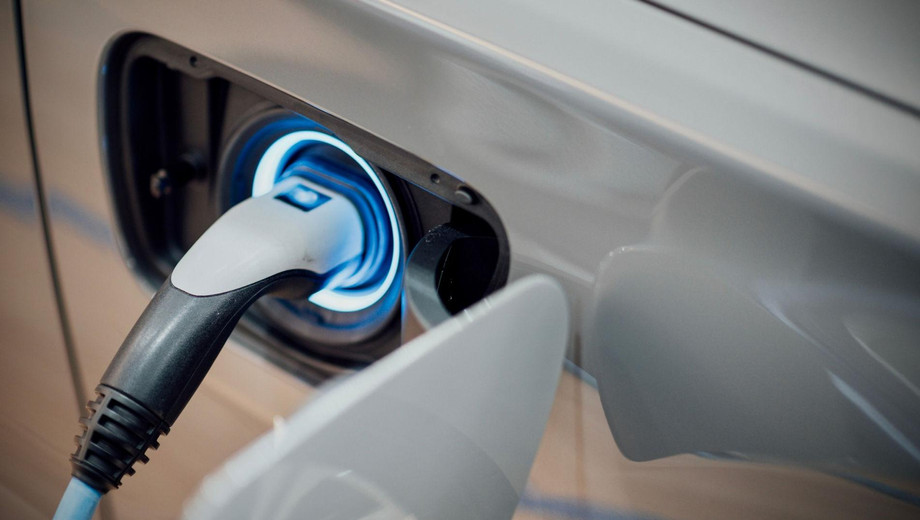
In our fast-paced, technology-driven world, staying connected is paramount. Whether you're commuting to work, embarking on a road trip, or just running errands, having a reliable car charger can be a lifesaver. In this article, we'll guide you through the process of installing a car charger in your vehicle, ensuring that you can power your devices on the go effortlessly.
Why Install a Car Charger?
The need for staying connected is ever-present. Whether it's for GPS navigation, hands-free calling, or charging your smartphone and other devices, a car charger is a convenient addition to any vehicle. Here's why installing one is a smart move:
Emergency Connectivity: A car charger ensures that your phone is powered up, even in emergency situations, allowing you to make calls and access vital information.
Convenience: No more worrying about low battery levels during long drives. With a car charger, you can keep your devices charged and ready for use.
GPS Navigation: GPS apps are indispensable for modern drivers. A car charger ensures that your device remains powered throughout your journey, helping you reach your destination safely.
Entertainment: Keep your passengers entertained with charged tablets, gaming devices, or portable DVD players, making road trips more enjoyable.
Selecting the Right Car Charger:
Before diving into the installation process, you'll need to choose the right car charger for your needs. Here are some factors to consider:
Type of Charger: Car chargers come in various types, including USB, USB-C, and wireless chargers. Ensure your charger is compatible with your device's charging port.
Number of Ports: Depending on your needs, select a charger with the appropriate number of ports. Some chargers offer multiple USB ports, allowing you to charge multiple devices simultaneously.
Amperage (Amps): The amperage rating of a charger determines how quickly it can charge your device. Higher amperage chargers can charge devices more rapidly.
Cable Length: Consider the length of the charging cable. Longer cables provide more flexibility for positioning devices within your vehicle.
Car Charger Installation Steps:
Once you have chosen the right car charger, follow these steps to install it:
Choose the Mounting Location: Start by selecting a suitable location for your car charger. The ideal location is within easy reach of the driver and passengers, preferably near the center console or dashboard.
Inspect the Vehicle's Electrical System: Ensure your vehicle's electrical system can support the car charger's power requirements. Consult your vehicle's manual or contact a professional if you're unsure.
Disconnect the Battery: To ensure safety during installation, disconnect the vehicle's battery. This will prevent any accidental electrical shocks.
Run the Wiring: Carefully route the charger's wiring from the chosen mounting location to the vehicle's power source. Conceal the wiring along the vehicle's interior panels or under the carpet to maintain a clean appearance.
Connect to a Power Source: Identify a suitable power source within the vehicle, typically the fuse box. Use an adapter or tap into an existing electrical connection, ensuring that the connection is secure.
Ground the Charger: Grounding is crucial for safety. Find a suitable grounding point within the vehicle and connect the charger's ground wire securely.
Connect the Charger: Attach the charger to the wiring harness, ensuring all connections are secure and insulated with electrical tape or heat shrink tubing to prevent short circuits.
Reconnect the Battery: With the charger properly installed and all connections secure, reconnect the vehicle's battery.
Test the Charger: Plug in your device to test the charger and ensure it functions correctly.
Secure the Charger: Use adhesive or mounting hardware provided with the charger to secure it in the chosen location.
For More Info:-
electric vehicle charger installation
Polestar charger installation melbourne
electric vehicle charging installation melbourne


Comments